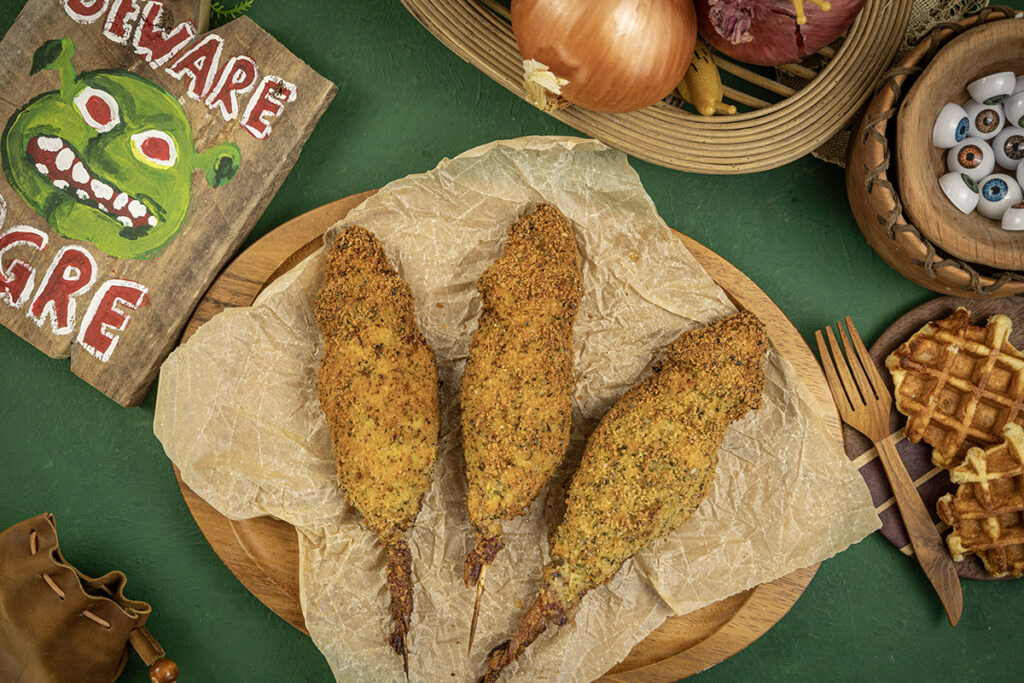
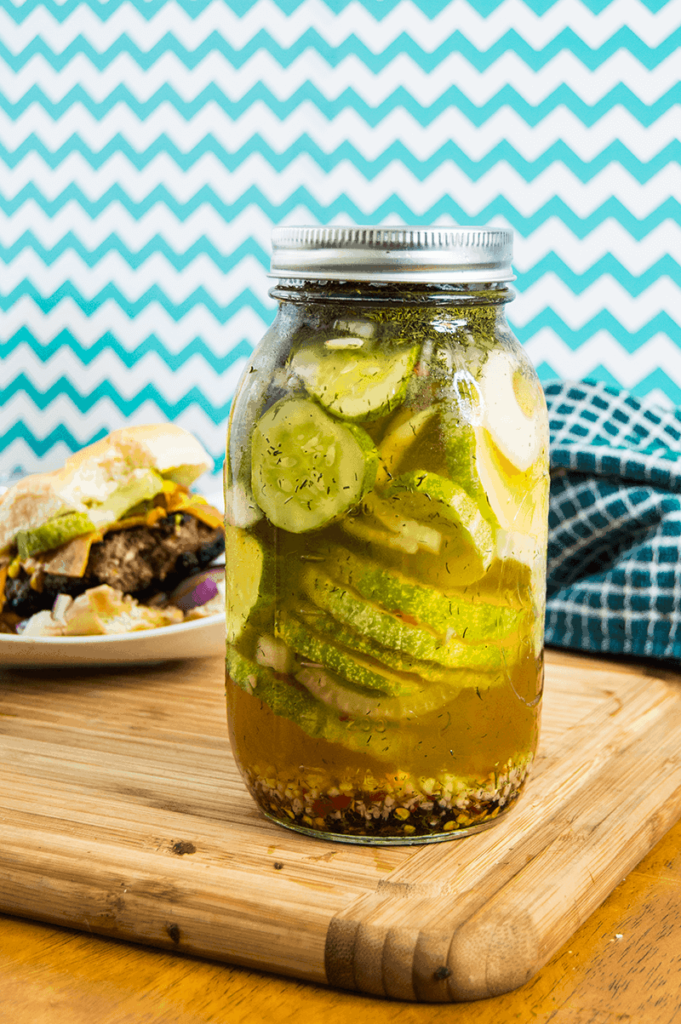
Easy Refrigerator Pickles
The Starving Chef is supported by Hungry People like you. When you make a purchase through an affiliate link on my site, I may earn a little bit of cash on the side (at no extra cost to you) to help keep my kitchen running. Read our disclosures here.
What’s Up, Hungry People
I love gardening and growing my own food from scratch. My garden has been pumping out zucchini and squash, but thus far has only produced a few medium-sized cucumbers – which are perfect for pickling!
Pickling in small batches, without a canner, is totally doable. The jars won’t be sealed for long-term storage, but the combination of water and vinegar will help keep the pickles tasting fresh for up to eight weeks or more.
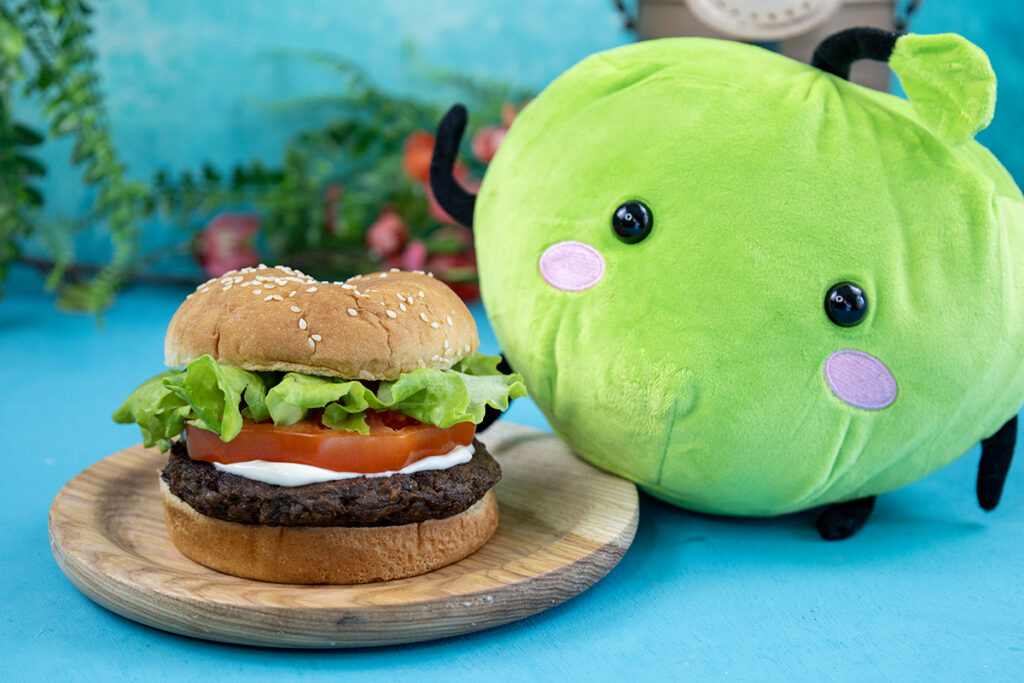
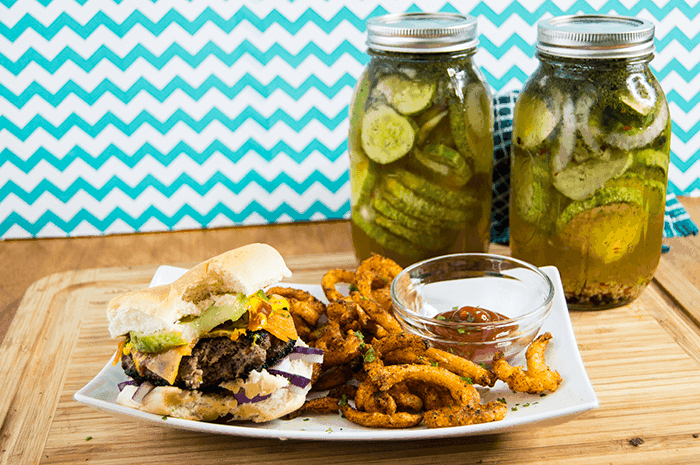
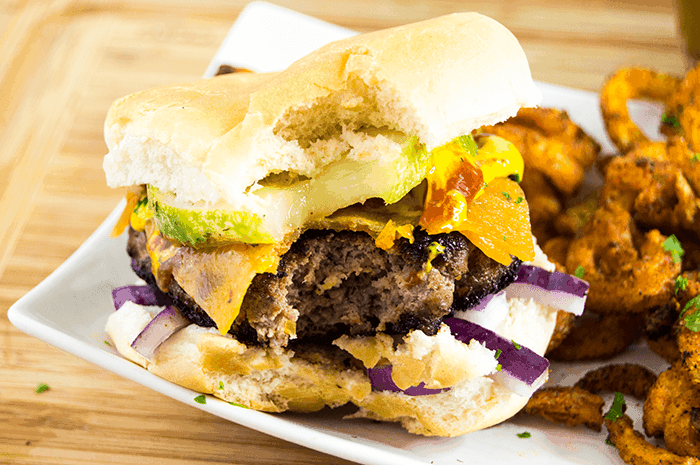
Unlike store-bought pickles, which are uniform in size, homegrown cucumbers can vary greatly. I personally enjoy thick pickle slices on my burgers – the bigger, the better!
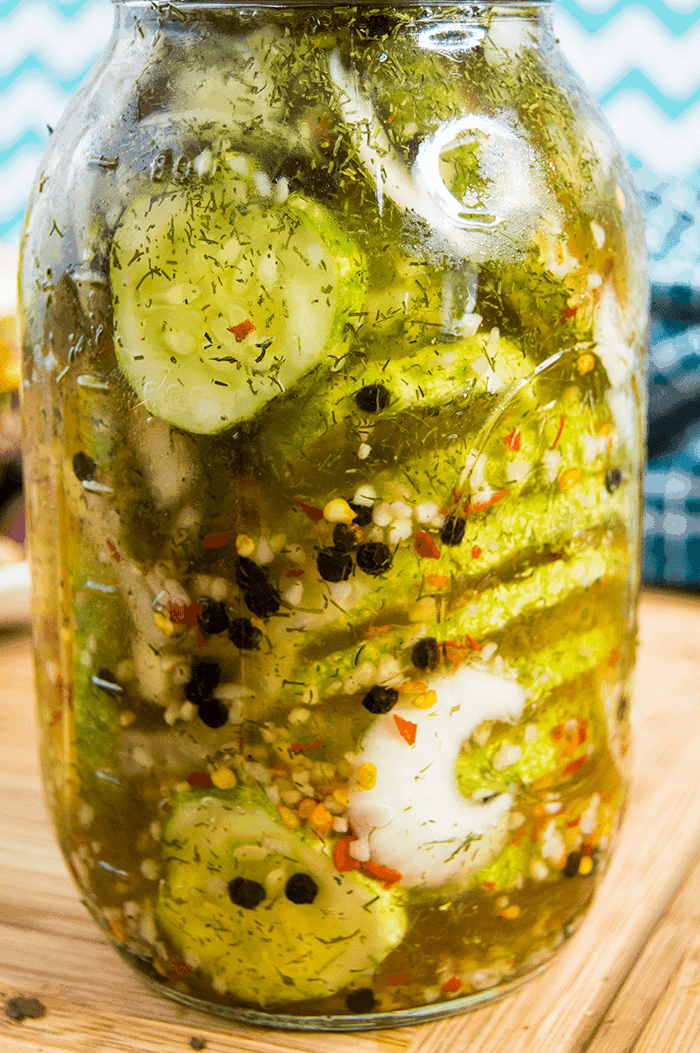
These pickles boast a sweet tanginess, paired with a significant amount of heat. In our household, we prefer our pickles spicy! However, you can easily adjust the flavors to meet your personal taste preferences.
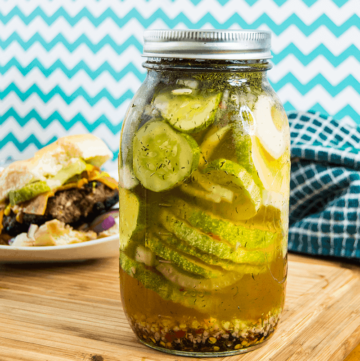
It’s best to prepare the pickles a day ahead of a backyard cookout. I’ve discovered the longer they marinate in the pickle juice, the better they taste. Twelve hours is about the minimum for optimum flavor, but the taste will continue to develop as the pickles age.
Lately, I’ve been in a dill pickle mood, and the next thing I plan to try with my homemade pickles is deep-frying them! But for now, I’m content with enjoying some delicious burgers with friends and adding some big ol’ pickles.
Here’s What You Need
- English cucumbers (seedless cucumbers) or homegrown, small cucumbers: the base that provides the crunch and bulk of the pickles.
- Water: Solvent for the vinegar brine, dilutes vinegar to a palatable acidity.
- Apple cider vinegar: Adds a fruity tanginess and helps preserve the cucumbers.
- White vinegar: Gives a sharp, clean acidity, contributing to preservation.
- Sugar: Balances the vinegar’s acidity with sweetness, enhancing flavor.
- Salt: Essential for flavor and acts as a preservative in the pickling process.
- Minced garlic: Adds depth and aroma, a key flavor component.
- Sweet onion: Adds a mild, sweet flavor complexity to the pickles.
- Dill: Provides a fresh, herby taste that’s classic in pickle recipes.
- Red pepper flakes: Introduces heat, adding a spicy kick to the pickles.
- Whole black peppercorns: Infuses a subtle, spicy warmth into the brine.
Let’s Cook
First up, grab a large pot and get it on high heat. You’ll want to pour in the water, apple cider vinegar, and white vinegar. Get that sugar and salt in there too, stirring until everything’s dissolved nicely. Once it starts boiling, take it off the heat and let it cool down. Patience is key here—you don’t want to rush this step.
Jar Preparation
While the brine is cooling, let’s get the jars ready. Distribute the minced garlic, sweet onion, dill, red pepper flakes, and whole black peppercorns evenly between your jars.
Cucumber Time
Now, take those cucumbers and trim off the tips. Slice them up into 1/4 inch to 1/8 inch thick slices, depending on how you like your pickles. Once sliced, evenly distribute them among your jars.
Bringing It All Together
After the brine has cooled, use a large measuring cup to pour it into the jars, leaving about 1/2 inch of space from the top. Screw the lids on tight—no half-measures here. Give each jar a good shake to mix everything together. This helps distribute the flavors evenly.
Chill and Wait
Finally, pop those jars into the fridge. They need at least twelve hours to marinate and soak up all those flavors, but if you can wait longer, do it. The longer they sit, the better they’ll taste. Remember, these pickles are good for up to three months in the fridge, so no rush.
Pickling Perfection: Tips and Tricks
- Use the freshest cucumbers: The fresher the cucumbers, the crunchier the pickles. Look for firm, bright green cucumbers without blemishes.
- Keep the skin on for texture: The skin helps keep the cucumber slices crisp during the pickling process. Ensure they’re washed well.
- Adjust the vinegar ratio for taste: If you prefer a milder pickle, increase the water-to-vinegar ratio. For tangier pickles, do the opposite.
- Experiment with additional flavors: Feel free to add other herbs and spices, like mustard seeds or bay leaves, to create your unique flavor profile.
- Ensure jars are clean: Use clean, sterilized jars to avoid any potential contamination that could spoil the pickles.
- Let the brine cool before adding: Pouring hot brine over the cucumbers can cook them slightly, making them less crunchy. Always let the brine cool first.
- The longer, the better: While you can enjoy the pickles after twelve hours, letting them sit for a few days to a week enhances their flavor significantly.
- Refrigeration is key: Since these pickles aren’t canned for shelf storage, keeping them refrigerated is crucial for maintaining their freshness and safety.
In wrapping this up, remember that making pickles from your garden’s bounty or the finds from your local market can be both simple and satisfying. Adjusting the spices to your liking means every jar is your own creation, something to be proud of when you pop open a jar at your next cookout. And if you’re feeling bold, why not experiment with deep frying them for a crunchy treat? Whether you’re layering them on a burger or snacking straight from the jar, these homemade pickles are a testament to your effort and the unbeatable flavor of making things from scratch. So go ahead, give it a try, and see just how easy and rewarding pickling can be.
Easy Refrigerator Pickles
Ingredients
- 2 English cucumber (seedless cucumber) or homegrown, small cucumbers
- 4 cups water or enough to cover pickles
- ½ cup apple cider vinegar or adjust to taste
- ¼ cup white vinegar or adjust to taste
- ½ cup sugar
- ⅓ cup salt
- 4 tablespoons garlic minced
- 1 cup sweet onion roughly chopped
- 4 tablespoons dill
- 2 tablespoons red pepper flakes
- 2 tablespoons whole black peppercorns
Instructions
- In a large pot over high heat, combine the water, apple cider vinegar, and white vinegar. Stir in the sugar and salt until dissolved. Bring to a rolling boil, then remove from the heat and allow to cool.
- Prepare the jars by distributing the minced garlic, onion, dill, red pepper flakes, and peppercorns evenly between each jar (or adjust according to taste for stronger or weaker flavors).
- Trim the tips off the cucumbers, then slice them into 1/4 inch to 1/8 inch thick slices. Distribute the cucumber slices evenly between the jars.
- Transfer the vinegar brine into a large measuring cup to pour even amounts of liquid into each jar easily. Fill the jars to 1/2 inch from the top. Tightly screw on the lids.
- Shake each jar to mix the contents well. Chill in the refrigerator for at least twelve hours for optimal flavor. The jars will keep in the fridge for up to three months. Serve on burgers, chop into relish for hot dogs, or enjoy plain as desired.