Olympic Torch Ice Cream Flambé
The Starving Chef is supported by Hungry People like you. When you make a purchase through an affiliate link on my site, I may earn a little bit of cash on the side (at no extra cost to you) to help keep my kitchen running. Read our disclosures here.
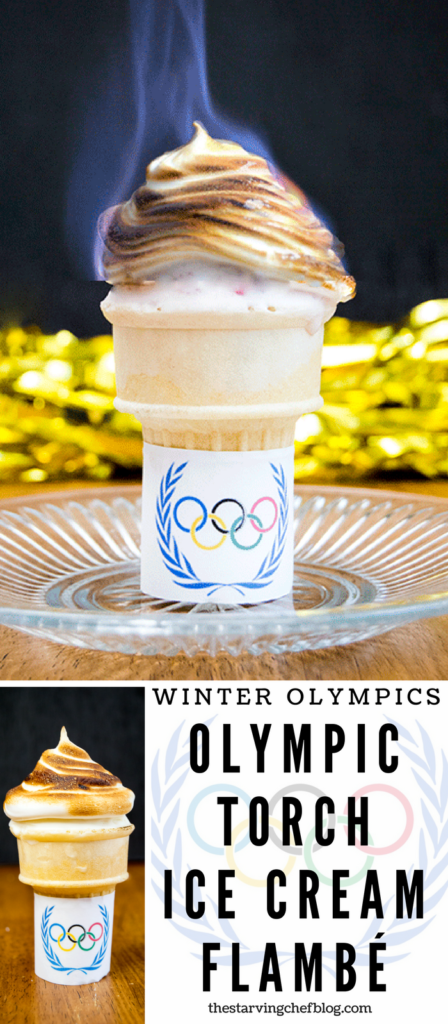
If you’re anything like me, you are eagerly awaiting the premiere of the Opening Ceremony for the Winter Olympics! Every four years (or every two between winter and summer olympics, depending when you are reading this), I love to track where the Olympic torch will be as it journeys from Greece to light the flame that officially launches the Olympic games. This year, the Olympic torch made a delicious pass through my kitchen – in the form of ice cream flambé.
There are two ways this dish can be served – one is “kid friendly” that involves no pyrotechnics. The second way, as seen in my video, involves blow torches and alcohol lit on fire. And while this post will outline the best way to make this flaming ice cream, I encourage anyone who attempts this recipe to use EXTREME CAUTION because you are literally playing with fire.
For my ice cream cones, I created a simple paper label to really drive home the Olympic Torch aesthetic. You can print your own version of my Olympic labels below!
Olympics Ice Cream Label by The Starving Chef
WARNING: IF YOU USE THE PAPER LABELS BE SURE TO REMOVE THEM PRIOR TO LIGHTING THE ICE CREAM ON FIRE! THE PAPER WILL IGNITE!
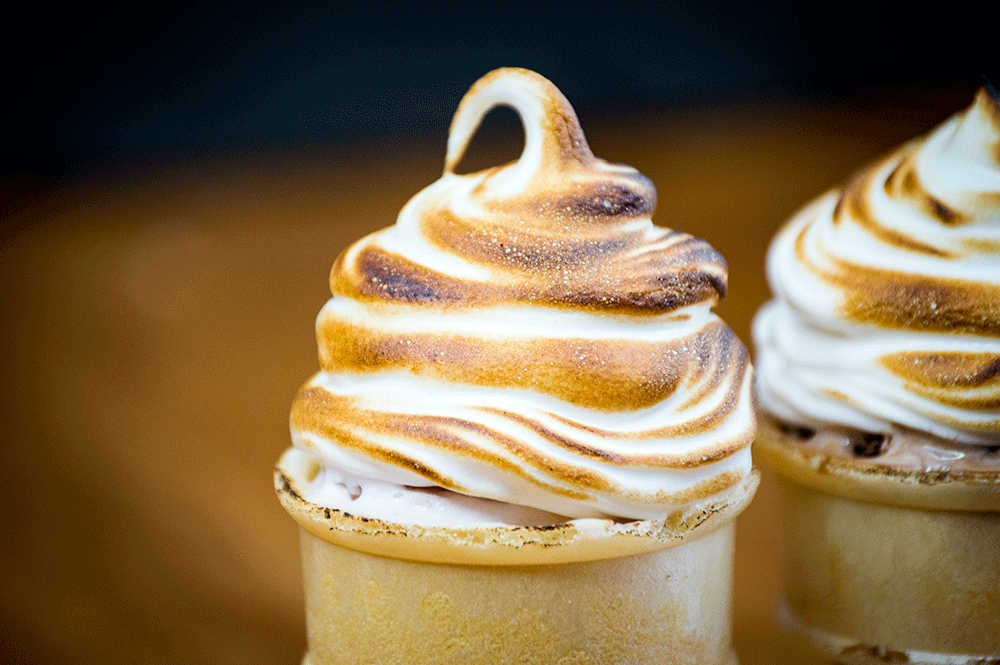
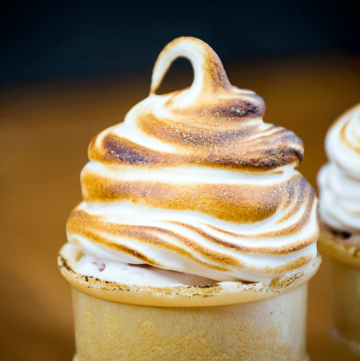
The tops of the ice cream cones are adorned with meringue – which adds a lovely toasted marshmallow flavor. Ultimately it doesn’t matter if you don’t torch your meringue, but for appearances, it certainly does help!
I attempted the lighting of my torch several times before I got it just right. Between dipping the top in alcohol to light it (doesn’t work – alcohol gets to cold), to adding alcohol in the meringue (similar issue being too cold to ignite) and then almost burning down my blog studio when I made my first attempt at pouring the flaming liquid onto a cone with the paper label intact resulting in a fire ball that spread from the ice cream to the gold prop paper… but when I finally got it just right, this was my actual reaction:
And that’s why I’m here to figure these recipes out for you! And like I said before – it’s fine if you don’t want to play with fire this Olympic season, these ice cream ‘torches’ are just as cute and yummy without all the flames.
Olympic Torch Ice Cream Flambé
Equipment
- butane fuel
- matches
- flame-proof container for serving
- flame-proof pouring container
Ingredients
- 6 ice cream cake cones
- 3 cups your favorite ice cream flavors (I used strawberry, vanilla and chocolate), softened
- 1 cup bourbon, rum or whiskey at least 40% alcohol / 80 proof liquor
- 4 egg whites room temperature
- 1 teaspoon vanilla
- 1 teaspoon cream of tartar
- 1 cup sugar
Instructions
- Soften the ice cream on the counter for 10-20 minutes so it is easy to scoop. Fill the ice cream cones with your ice cream of choice, about 3-4 tablespoons. Press the ice cream into the bottom of the cone and fill to the top – only put a small mound, and not a full scoop, on the top of the cone. Freeze until solid, about 8-10 hours. If adding multiple layers/flavors to a single cone, freeze the cones for about 30 minutes between each layer to keep the flavors separate, and then freeze solid.
- When the ice cream is frozen solid, prepare the meringue. Using a hand mixer or tabletop mixer, whip the egg whites until frothy and add in about 2-3 tablespoons of sugar. Continue to whip until foamy, then add the vanilla and cream of tar tar.
- Slowly add the rest of the sugar. Continue to whip the meringue at a high speed until soft, glossy peaks form and the meringue holds its shape on the whisks – about 5-10 minutes.
- Use a piping bag with a star tip or a gallon baggie with a tiny bit of corner cut off – fill the bag about half way with meringue. Pipe the meringue in swirls on top of each ice cream cone. Pull straight up to achieve a pointed top. Freeze the ice cream until the meringue is solid, about 1-2 hours.
- Fit the ice cream with paper labels, if using. You can serve the ice cream cones AS IS at this point OR you can follow the steps below for toasted and flambe options.
- Use a creme brulee torch to toast the outside of the frozen meringue. Hold the torch about 3-4 inches away and keep it moving to prevent burns. If the meringue catches on fire, quickly blow it out and adjust your distance with the torch. Once all the meringue toppings are toasted to your liking, pop them back in the freezer for another hour, or until ready to serve.
- When ready to serve, heat the liquor in a skillet over medium heat or in the microwave for ~30 seconds, until shimmering. Pour the warmed liquor into a flame-proof container (glass, ceramic) with an open top and a good pouring side. You may want to test the pour before you light it on fire to prevent any spills or accidental fire damage.
- IMPORTANT: REMOVE ANY PAPER LABELS FROM THE ICE CREAM CONE PRIOR TO FLAMBAYING.
- Place the ice cream cone you wish to flambé on a glass or ceramic plate. Use a long match to ignite the liquor. The flames may be light in color – the higher the alcohol proof, the brighter and longer the alcohol will burn.
- When ready to serve, VERY CAREFULLY pour the ingited alcohol over the top of the ice cream. The alcohol will burn off after a few seconds. Feel free to flambé the same cone, for special effect, as desired. Bonus points if you flambé during the Olympic ceremonies. Enjoy!