Harry Potter’s Eleventh Birthday Cake
The Starving Chef is supported by Hungry People like you. When you make a purchase through an affiliate link on my site, I may earn a little bit of cash on the side (at no extra cost to you) to help keep my kitchen running. Read our disclosures here.
What’s Up, Hungry Muggles!
It’s the last day of HARRY POTTER WEEK here in the Starving Chef’s kitchen. All week I’ve been posting magical recreations of my favorite drinks and dishes inspired by the wizarding world!
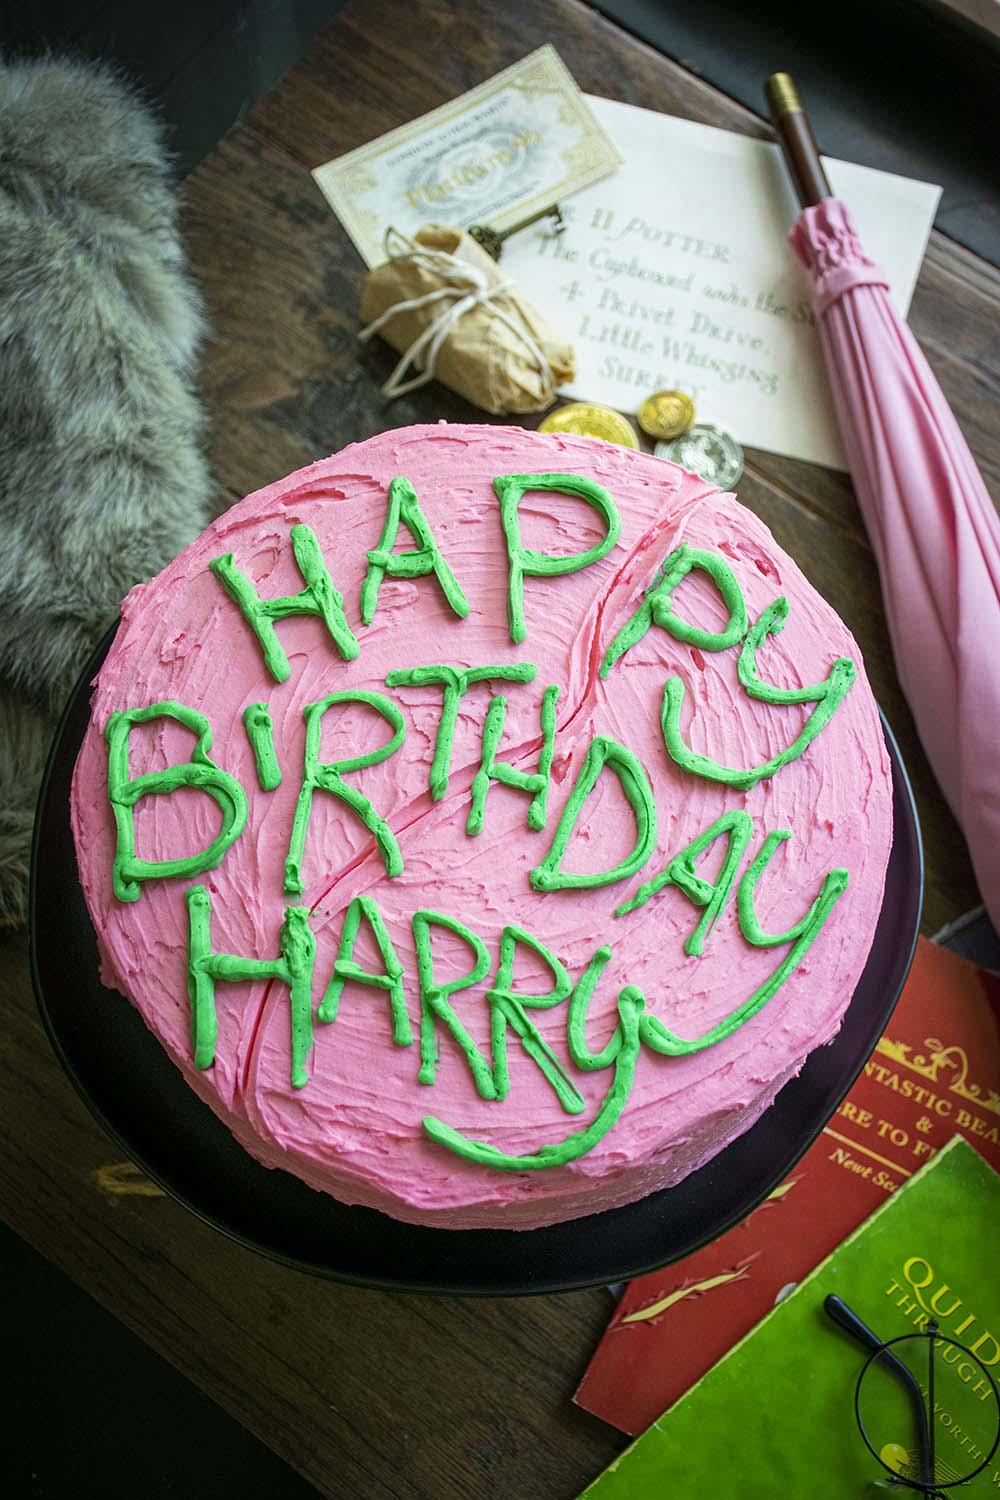
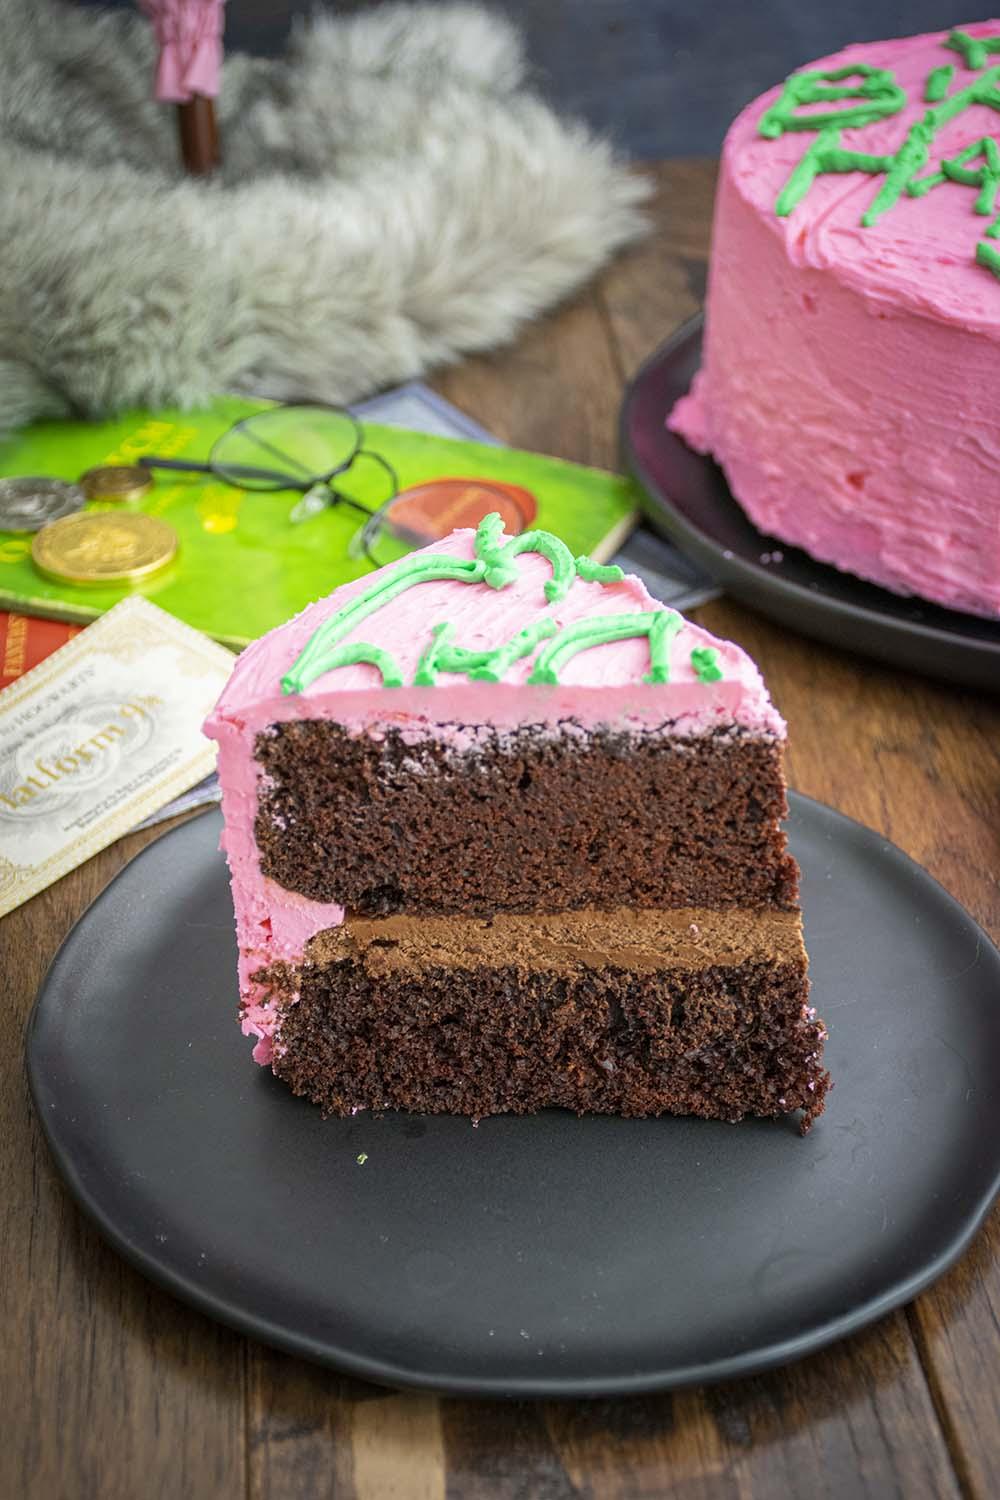
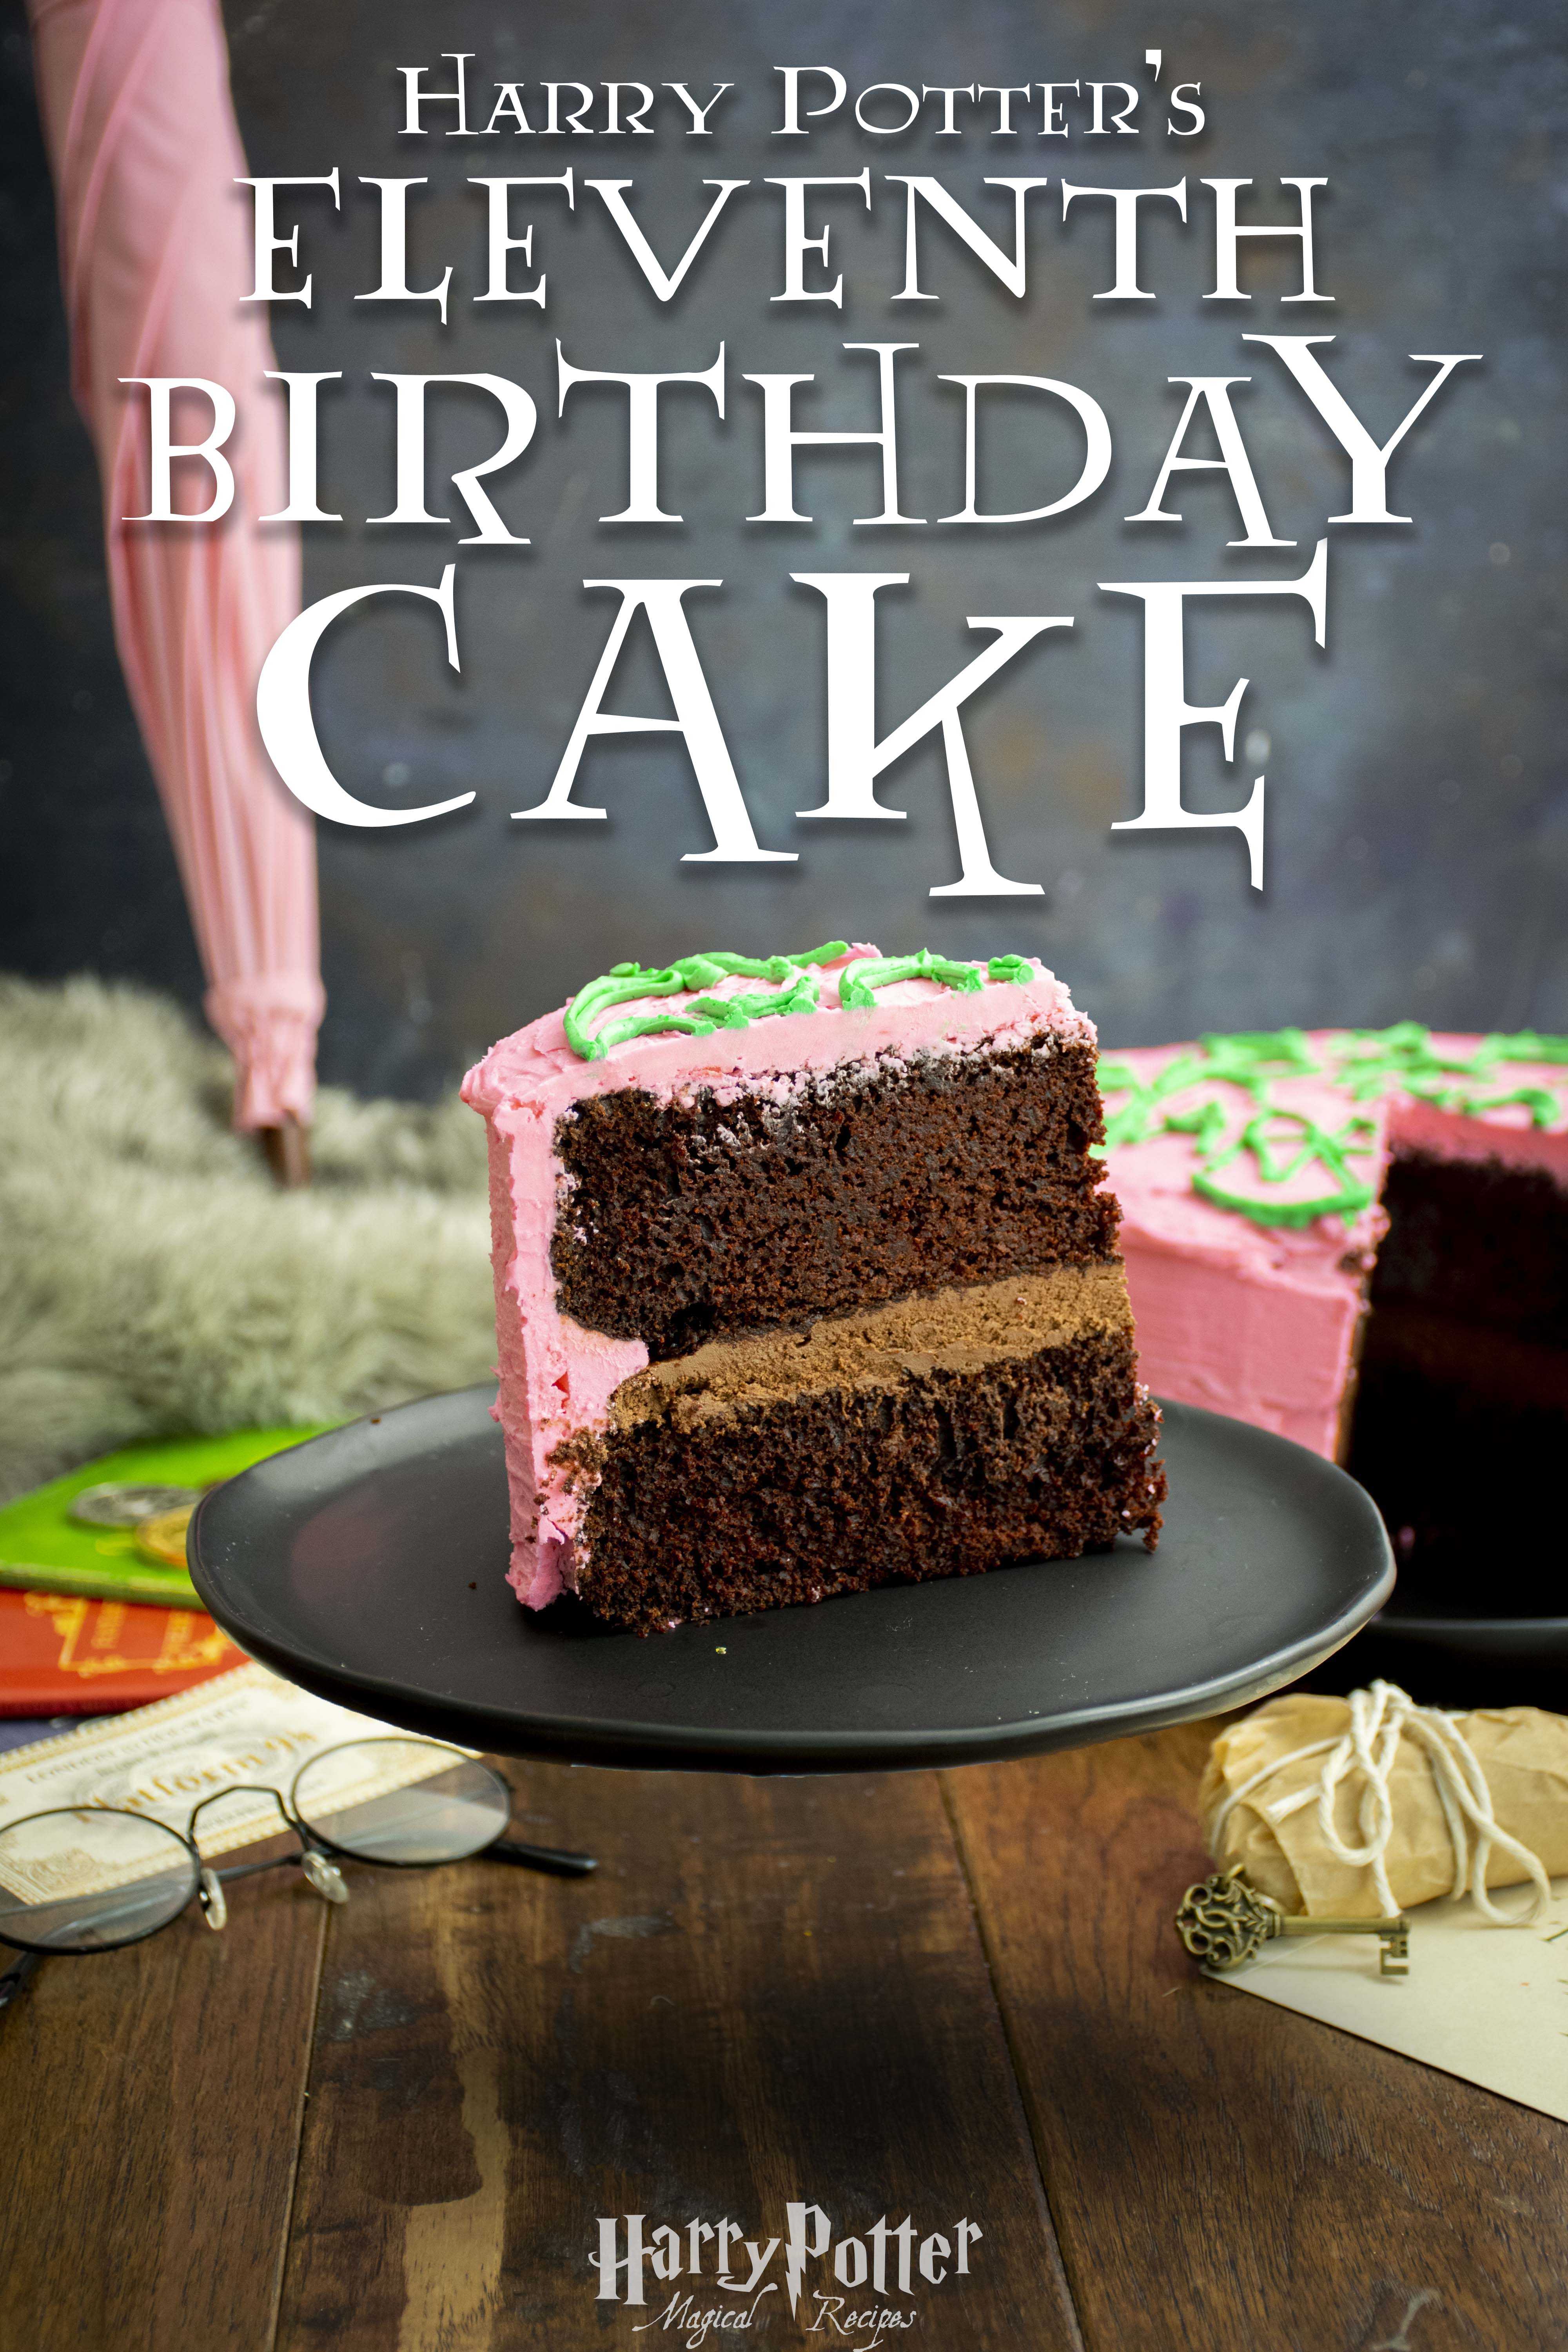
Today, after over half of a decade of concocting fantastic feasts, I’ve decided it was finally time to take on one of the most iconic Harry Potter desserts of all time: HAGRID’S PINK BIRTHDAY CAKE!
If you’re anything like me, you probably spent at least one birthday actually wishing that Hagrid would show up, reveal you were a witch or wizard and whisk you off to Hogwarts.
Heck, I still hope for that and I just turned 30!
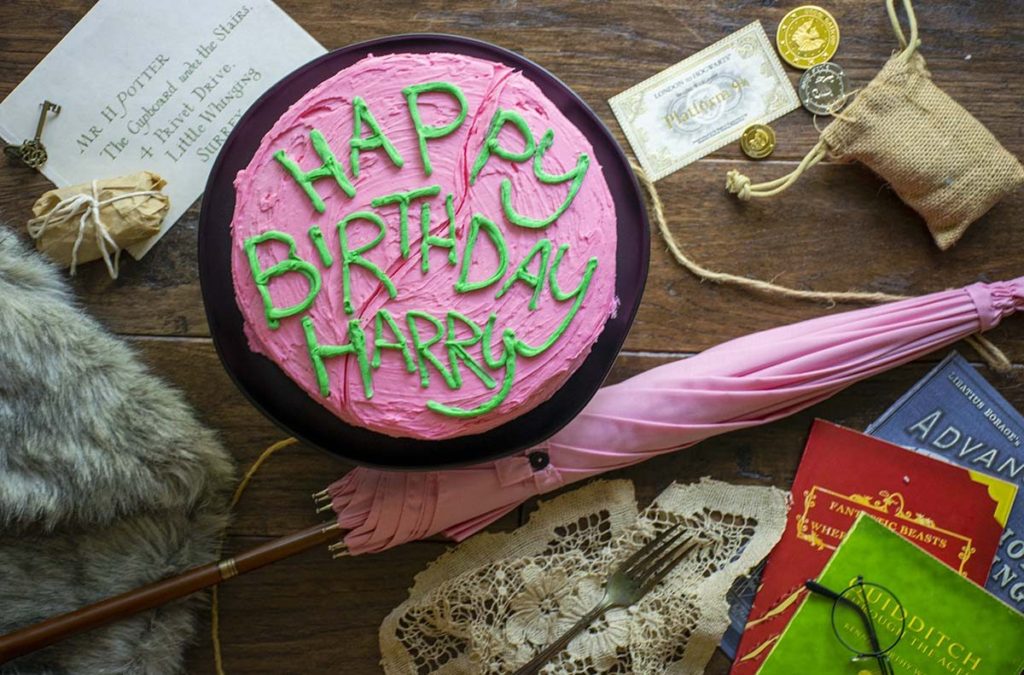
“Happy Birthday, Harry!”
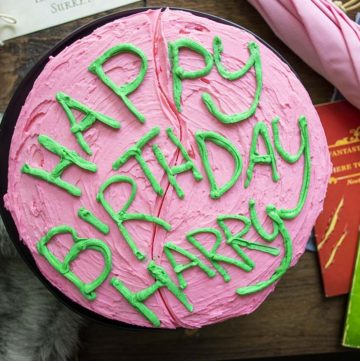
Now, the movie definitely did Hagrid dirty with the spelling on the cake “HAPPEE BIRTHDAE HARRY” – Hagrid isn’t stupid, he attended Hogwarts to his third year after all. As far as I’m aware, this isn’t even a Scottish spelling either. I’m not sure why they chose to change the spelling to be incorrect – ESPECIALLY because in the book, the cake literally says “HAPPY BIRTHDAY HARRY” spelled correctly and all.
So I am taking the actual factual cannonical spelling straight from the source material. We all know the movies are loosely based, at best, on the books.
(Can you tell I’m a Harry Potter pureist?)
When Hagrid comes to collect Harry in the first book, he gives him his letter, takes him to Diagon Alley for his wand and his books, and gives him a train ticket to Hogwarts on Platform 9 3/4 – but not after taking him through Gringotts to collect a little brown-paper-wrapped package and a bag full of wizard money for Harry.
After that, unlike the movies, Harry actually goes back to the Dursleys from July 31st to September 1st, when the train leaves for Hogwarts. That’s a little detail a lot of people forget – it was the Dursleys that took Harry Potter to the train station, not Hagrid just leaving and abandoning Harry to find the platform for himself (and then be saved by Mrs. Weasley!).
Again – not sure why the movies did Hagrid dirty like this!
Qualms between the books and movie adaptations aside, this cake has been on my dessert bucket list since I was approximately 10 years old. I grew up alongside the book and movie releases – the movies and books really hitting that sweet spot at 13/14 years old and fueling a lifelong obession. I even went to all of the midnight movie premieres from the 5th movie on.
What a time to be alive.
Making a MAGICAL birthday cake
While Hagrid probably used his pink umbrella (*ahem* wand) to put a little magic into this cake, here are some of the most important ingredients that you can find at your muggle grocer.
- cake flour – different from all purpose flour, cake flour will allow the cake to be light and airy while still tasting decadent
- unsweetened cocoa powder – pump up the chocolate flavor
- baking powder AND baking soda – both will be needed to get the right amount of reaction and rise (it’s just like adding some magic!)
- white vinegar – this ingredient is like having the Half Blood Prince whispering over your shoulder “Trust me with this one” – it’s the secret ingredient to the perfect chocolate cake
- rum extract – another special ingredient to give the cake a unique acidic undertone
- coffee – make it BOILING hot!
- chocolate frosting – we’re using muggle-bought frosting for this recipe, but feel free to make your own!
Of course, if we’ve learned anything from our potions classes, we’ll also need common ingredients like milk, sugar, salt and oil to be able to complete our cake!
Best EVER Buttercream
If there’s one thing that Hagrid deserves some credit for with this cake – his frosting held up perfectly despite him traveling with it on a magical motorcycle.
- butter – essential to getting the frosting to hold its shape
- powdered sugar – what makes it sweet!
- heavy cream OR milk – heavy cream is preferred because of how it makes the icing come together THICK, but regular milk can be used sparingly to achieve the same effect
- vanilla extract – just a hint of flavoring
- gel food coloring – gel colors will give you more control and accuracy on the pink and green colors used on this cake. I tried to match my pink icing exactly to a replica of Hagrid’s umbrella wand (affiliate link).
Tips for this cake!
I recommend clearing out some freezer space to make room for the individual stages of this cake making process. Freezing the cake layers between the steps will ensure a perfect cake – an old pastry school trick: it’s best to work with a COLD cake.
To make your life easier, you might want to invest in a rotating cake stand as well. You can get them super cheap at craft stores or more professional ones for a higher price online(affiliate link)! Other recommended tools include a cake scraper and piping bags and tips! These are all just recommendations, you can absoluely make this cake on the fly with tools that you already have.
I hope after this week I’ve transfigured you from a muggle to a witch or wizard – or at the very least brought happiness to the witch or wizard in your life.
Don’t forget to come back next summer for more Harry Potter content!
Originally Posted July 2021
Harry Potter’s Eleventh Birthday Cake
Equipment
- freezer space
- 9×9 round cake pans
Ingredients
FOR CAKE:
- 4 cups cake flour
- ¾ cup unsweetened cocoa powder
- 2 cups sugar
- 1 teaspoon salt
- 1 ½ teaspoon baking powder
- 1 ½ teaspoon baking soda
- 2 eggs
- 1 cup milk
- 1 tablespoon white vinegar
- ½ cup vegetable oil
- 2 teaspoons vanilla extract
- ½ teaspoon rum extract
- 8 oz boiling hot coffee
- 2 tablespoons butter for greasing
FOR ICING:
- 1 ½ cups butter room temperature
- 7 cups powdered sugar + more as needed to thicken
- ¼ cup heavy cream + more as needed thin
- 1 teaspoon vanilla
- pink & green gel food coloring
- 2 cups chocolate frosting for filling
Instructions
- Preheat the oven to 350 F. Prepare two 9×9 round cake tins by rubbing butter on all edges and on the bottom. Cut parchment to fit in the bottom of each cake pan and a long strip of parchment that will go around the inside of each – each pan will need two strips of parchment to go all the way around without creasing. The parchment should stick to the butter on the sides of the pan and peek over the top of the pan about a half inch. After the pan is lined with parchment, lightly spray the parchment with cooking oil. Set aside.
- In the bowl of a stand mixer, sift together the cake flour, cocoa powder, sugar, salt, baking powder and baking soda.
- Slowly add the eggs one at a time, followed by the milk, oil, vanilla and rum extracts. Carefully pour in the hot coffee. Stir until the dry ingredients are mixed in then add the white vinegar. The mix may fizz a bit as the vinegar reacts. Continue to stir – the batter will be thin.
- Pour the batter into each cake pan so that it is about halfway full. Place the pans diagonally side-by-side in the oven. Bake for 35-40 for minutes, until a toothpick inserted in the center of each comes out clean. Place the cooked cakes on a cooling rack for at least one hour – the cakes should be room temperature before attempting to remove from the pans.
- Prepare a baking sheet or flat plate with parchment paper (big enough for both cakes or one cake per plate). Flip the cooled cakes out of their pans onto their parchement prepared surfaces so that they are upside down, flat bottom side up. Peel off the parchment from the cake layers. Wrap lightly in plastic wrap. Freeze overnight.
- The next day, make the buttercream icing by using a hand mixer to combine the room temperature butter, vanilla extract and powdered sugar. Slowly add the heavy cream until a thick and creamy buttercream. The icing should hold stiff peaks when it is ready – add more powdered sugar as needed to thicken the icing; or thin the icing with additional heavy cream.
- Remove one cup of frosting to a separate, smaller bowl. Mix in the pink food coloring to the main bowl until it reaches the desired color. Make sure to scrape the bottom of the bowl as you mix. Repeat with the green food coloring and the smaller bowl of icing. Leave at room temperature while you work.
- Open the chocolate frosting and put all but a few tablespoons into a piping bag. Set aside. Secure one of the cakes to the cardboard base with a dab of frosting. Then secure the cake board to the rotating cake stand with another dab of frosting.
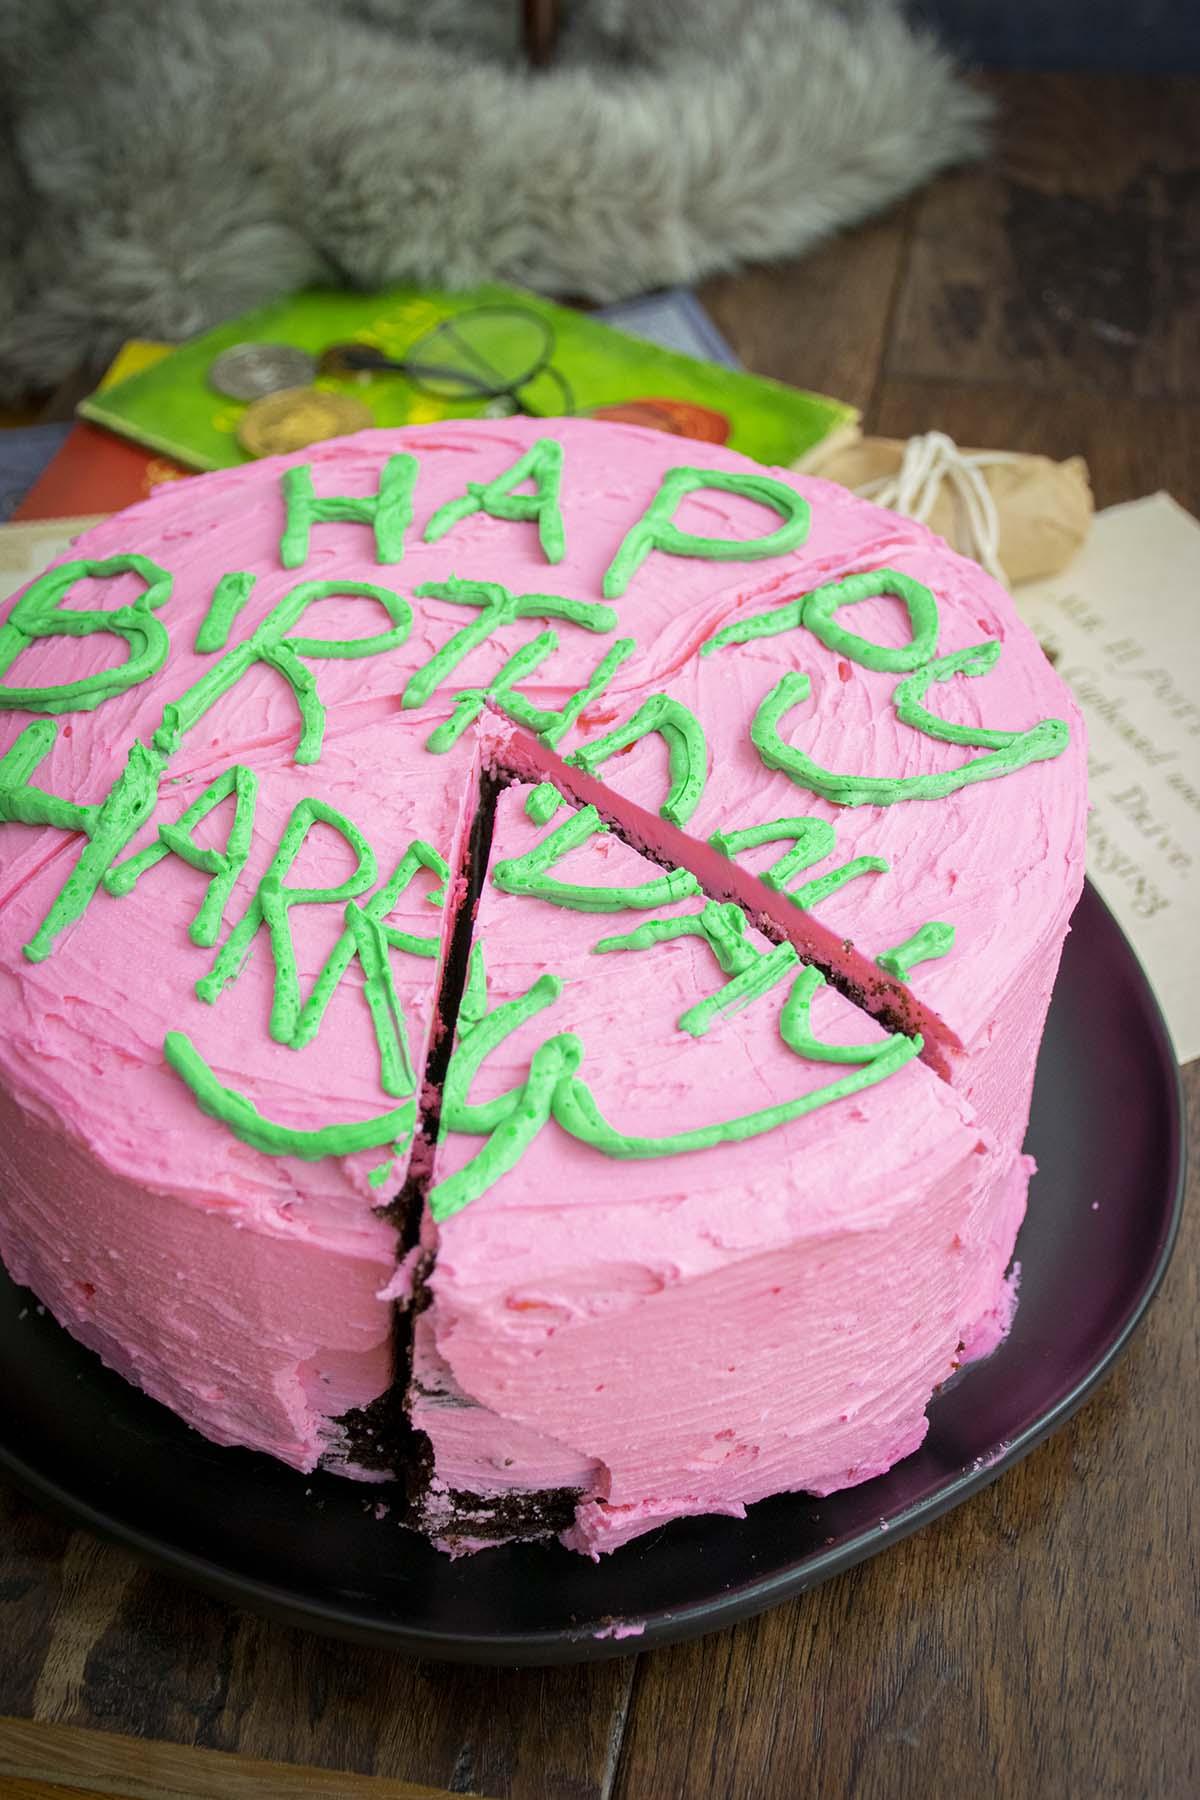
- Pipe the chocolate frosting from the center all the way to the edges of the cake, so that is it about 1/2 to 3/4 inch thick. Place the second cake layer on top and fill in the edges. Use the icing scraper to smooth the edge. Freeze 20-30 minutes.
- Do a crumb coat with one cup of pink frosting in a piping bag. Do a very thin layer of icing all over the cake sides and top, using the rotating base and icing scraper to get the frosting even. It's okay if crumbs are picked up in this layer. Freeze for one hour or until the crumb coat is no longer sticky to the touch.
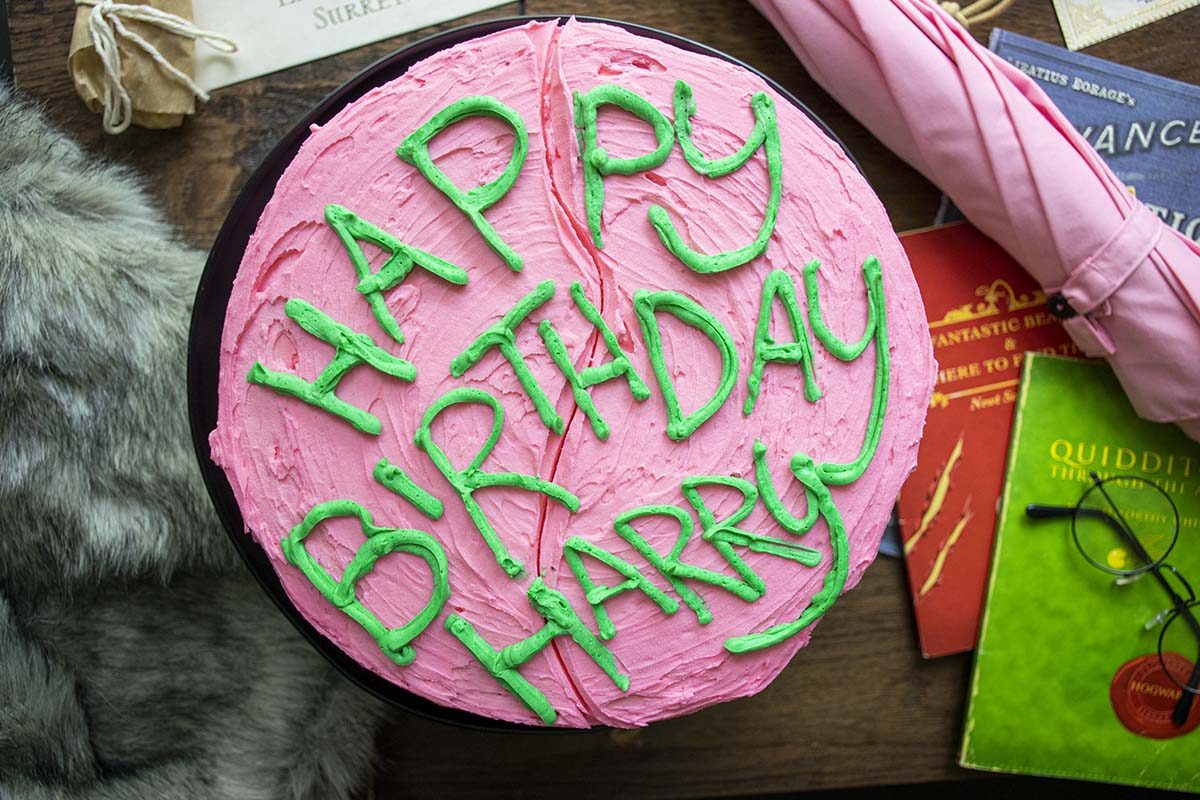
- Spoon the remaining pink frosting into a piping bag and pipe in hortizontal lines around the edges of the cake. Use the icing scraper to lightly flatten and smooth the outer layer (it doesn't have to be perfect if you are going for a "Hagrid-made" effect – I even made the 'squish line' down the center of the cake so it was imperfect). Repeat working from the center to the edge with the icing on the top of the cake. The icing should be about a 1/4 to 1/2 inch thick on top and sides. Freeze until no longer sticky, about one hour.
- Using the green icing and a small piping tip for writing, write out "HAPPY BIRTHDAY HARRY" on the cake. I recommend waiting to write the wording until last to ensure the colors don't start to bleed. Chill until ready to serve – or leave out at room temperature for about 30 minutes prior to serving. This will help thaw the center of the cake.
- Enjoy while revealing to a child they are the Chosen One. "YER A WIZARD 'ARRY!"