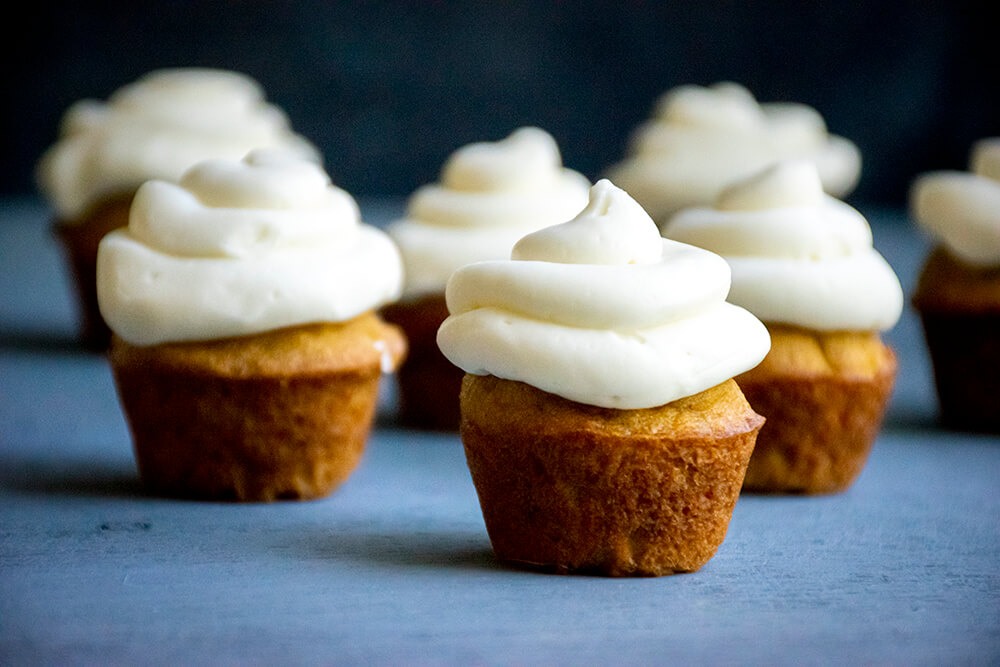
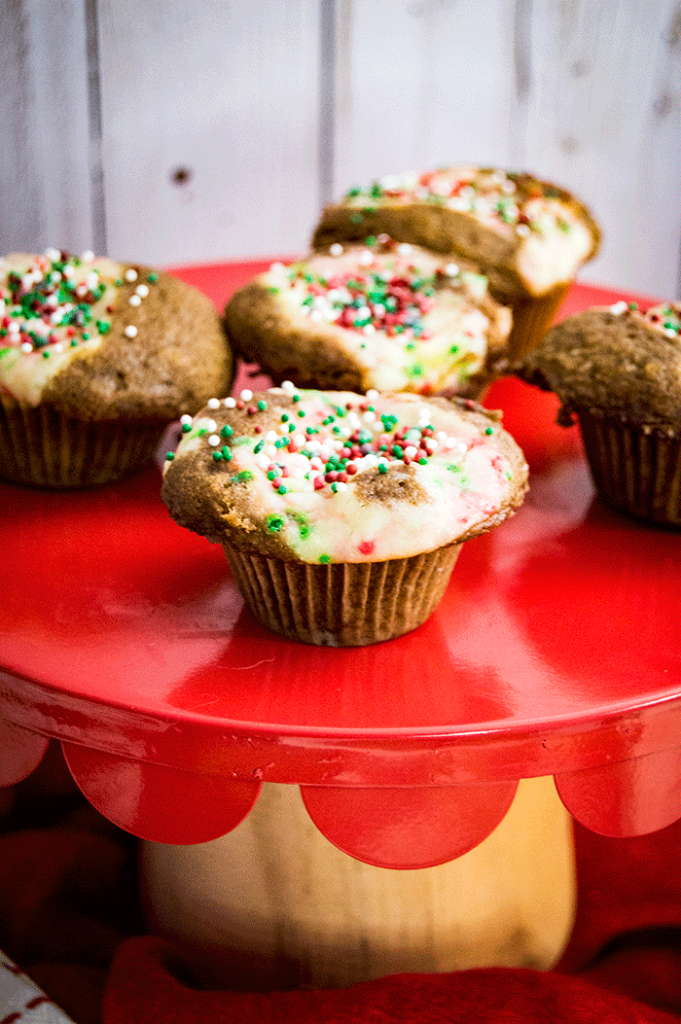
Chocolate Cheesecake Muffins for Christmas
The Starving Chef is supported by Hungry People like you. When you make a purchase through an affiliate link on my site, I may earn a little bit of cash on the side (at no extra cost to you) to help keep my kitchen running. Read our disclosures here.
Cookies may be the champions of Christmas, but muffins are certainly a welcome addition to any cookie platter in my opinion.
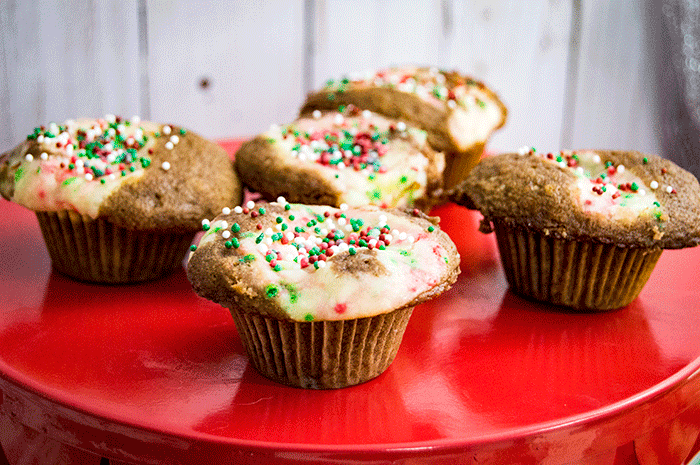
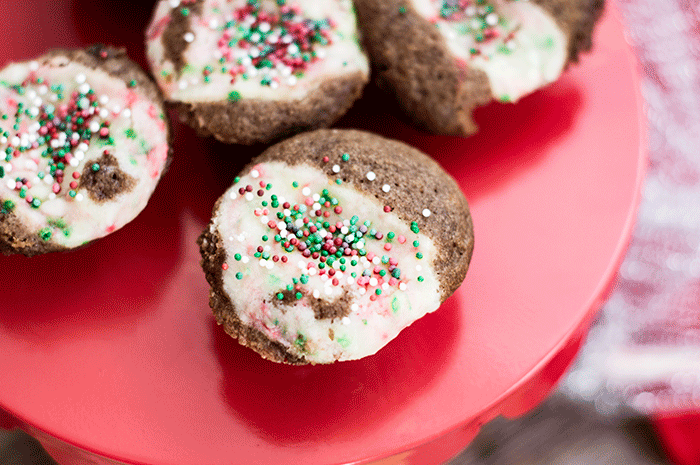
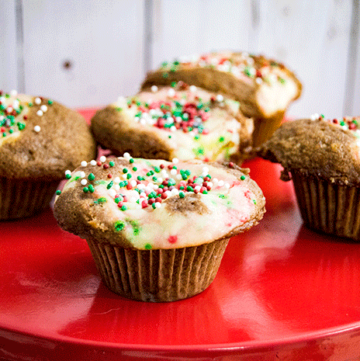
These chocolate muffins have a cheesecake filling that’s colored with red, green and white sprinkles to add some holiday cheer.
Plus, I made my muffins mini so they are easy to sneak into your mouth in a single bite. And trust me when I say, these things are straight addictive!
Chocolate Cheesecake Muffins for Christmas
These chocolate muffins have a cheesecake filling that's colored with red, green and white sprinkles to add some holiday cheer.
Equipment
- muffin tin
Ingredients
- 1 ½ cup flour
- 1 ⅓ cup sugar divided
- 1 cup water
- ⅓ cup vegetable oil
- ½ cup bakers chocolate melted
- 1 tablespoon white vinegar
- 1 teaspoon baking soda
- 1 teaspoon salt
- 1 teaspoon vanilla
- 8 oz cream cheese room temperature
- 1 egg
- 1 cup Christmas sprinkles optional
Instructions
- Preheat the oven to 350 F. In a large bowl, whisk together the flour, 1 cup sugar, baking soda, and salt. Stir in thew water and vegetable oil. Beat in the white vinegar and vanilla until a smooth batter forms. Let rest for 10 minutes.
- In a separate bowl, stir together the cream cheese, egg, the remaining sugar and a couple tablespoons of your favorite Christmas sprinkles, for color.
- Grease a mini muffin tin and line with paper baking cups. Measure about a half to full tablespoon of batter into each cup. Then measure about a teaspoon of the cream cheese mixture into the center of each muffin. Use a toothpick to swirl around the cheesecake filling.
- Bake for 15-20 minutes, until the muffins are puffed up and the cheesecake as settled into the center. Rest in the tins for 5-10 minutes after removing from the oven then tip out onto a cooling rack to finish cooling. Enjoy!
Tried this recipe?Let us know how it was!